Use code: GEAR to get 15% off select brewing equipment
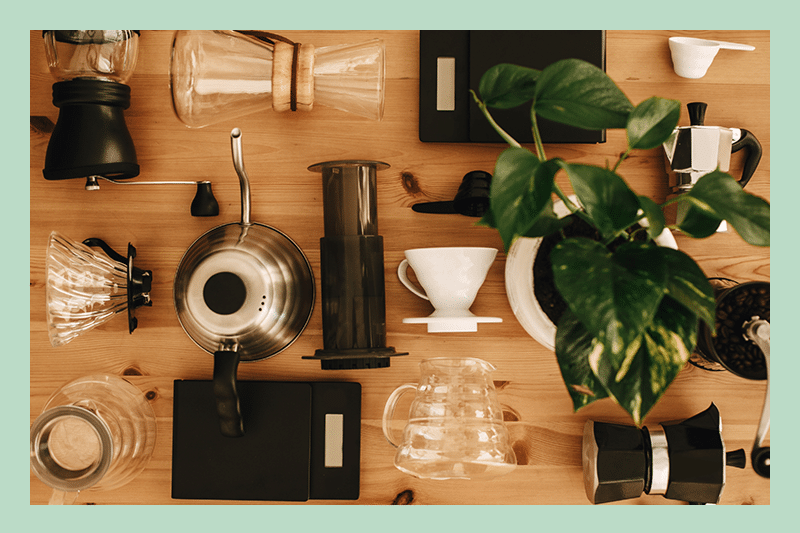
Picture this: You’ve decided to try your hand at home brewing your coffee.
Save a couple bucks, have a moment for yourself in the morning; it seems like you finally cracked the code of your routine. You heat the water, grind the coffee, get your brewing device all ready, and follow all the steps that your local barista told you to follow – you even look up a couple YouTube videos to make sure you get it right. Finally, it’s time for the first sip of your coffee. It’s probably too hot to drink, but you’re too excited to care, so you take a deep breath and bring the mug up to your lips for your first taste. Your mouth instantly puckers; it definitely does not taste like when the barista brewed it for you in the coffee shop. The coffee you so lovingly hand brewed for yourself is bitter and astringent, the sweetness or fruitiness that you were expecting to find is absent; you can’t help but feel a little defeated. You tried so hard and invested so much time and money into your new home brew station and your first brew turns out to be a bust.
All is not lost, dear home brewer, good coffee is on the horizon and it’s probably closer than you think!
When trying to troubleshoot a brewing problem, there are five things to think about:
- “Hot, but not too hot” – Temperature of the brew water. You want your water to be hot enough to extract the flavor from the beans, but not so hot that it’s practically steam. You’re not trying to create a spa for your coffee, just a nice hot bath.
- “It’s all about that ratio” – Ratio of coffee to water. Too much coffee and you’ll be vibrating all day, too little and you might as well have a cup of warm milk. You want to find that sweet spot, that perfect balance that makes your taste buds sing.
- “Size matters” – Grind size of your coffee. Just like finding the perfect date, you need to know what size you’re looking for. Too coarse and your coffee will be weak, too fine and it will be bitter. You need to find that Goldilocks zone, that perfect size that’s just right.
- “Stir things up” – Agitation of the brew slurry. You need to give your coffee a little shake, a little stir, a little “how do you do?” Agitation helps to evenly distribute the water and the coffee, so you get a consistent flavor with every sip. Just don’t shake it like a Polaroid picture, you’re not trying to make a milkshake.
- “Patience is a virtue” – Length of brew time. Good things come to those who wait, and that includes coffee. You can’t rush perfection, you need to let that coffee steep and simmer, and take its sweet time. Just be patient, enjoy the aroma, and know that your patience will be rewarded with a delicious cup of coffee.
To kick us off, let’s talk about what’s happening in the brew slurry (where the ground coffee and hot water meet).
When the hot water comes in contact with your ground coffee, chemical reactions start taking place immediately. Water enters each individual coffee particle, displacing CO2 and leeching water soluble molecules out of the grounds and into the water. Only about 30% of the coffee is water soluble, leaving behind lignin and other woody substances that make up the cell structure of the coffee bean. Our goal as coffee brewers is to extract the ideal amount of water soluble molecules (18%-22%) while being careful to not to extract too much or too little from your bed of ground coffee. All this might sound a little overwhelming, but if you use the tips in this article, the extraction and concentration of your brew should result in a delicious cup of coffee.
The first thing I usually do when I brew coffee at home is heat the water, so let’s talk about the temperature of the water and how it affects the brew.
Heat is the transfer of kinetic energy from one object to another, or an energy source to an object. I like to think of it as how much fuel you are adding to your brew slurry. Using water that is too cool is a lot like going to the grocery store 5 minutes before they close: there is no way you’re going to get everything you need. Cool water simply does not have enough energy to add to the brew slurry to adequately extract those water soluble molecules trapped in the coffee grounds. Inversely, using water that is too hot is like going to the grocery store hungry: you are absolutely leaving with too many things in your cart that you did not intend to buy. Water that is too hot will pull more solubles out of the ground coffee than is ideal for making a tasty brew.
So, “What is the ideal brewing temperature?”, I hear you ask through your screen.
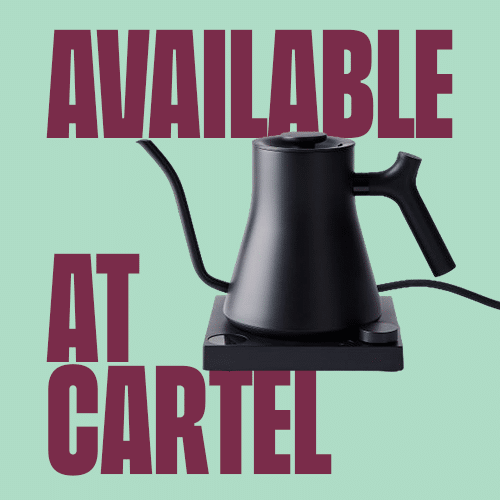
The recommended temperature range is 195℉-205℉. Different coffees with different densities, water content, or ages might have different temperatures in that range where they sing, but to be honest, I usually shoot for 200℉. In a pinch, you could boil the water and wait until you think it’s the proper brewing temperature, or if you want to take the guesswork out of the equation I suggest picking up a thermometer or a kettle that has built-in temperature controls, like the Fellow EKG Kettle.
My second step in my morning coffee routine is weighing out the whole bean coffee, which leads us to our next topic: ratio of water to coffee.
Ratio is the heart of your recipe, it’s probably the first question people ask when they are learning to brew: “How much coffee do I use?”
There is no right or wrong answer to this question. Coffee brewing is an exact science, but taste is subjective. The most common ratio for most brewing devices is a 16:1 ratio, which means that for every one gram of coffee, there are 16 grams of water. Water will always be the bigger number in the ratio because it makes up most of the brewed coffee solution. Some brewing devices, such as full immersion brewers and espresso machines, as well as in cold brewing really benefit from using a smaller ratio of water to coffee in order to increase the concentration and achieve proper extraction. I always encourage those new to brewing to start with a 16:1 to get used to the process of brewing, but there are many recipes out in the world, and part of the fun of brewing is the freedom to experiment.
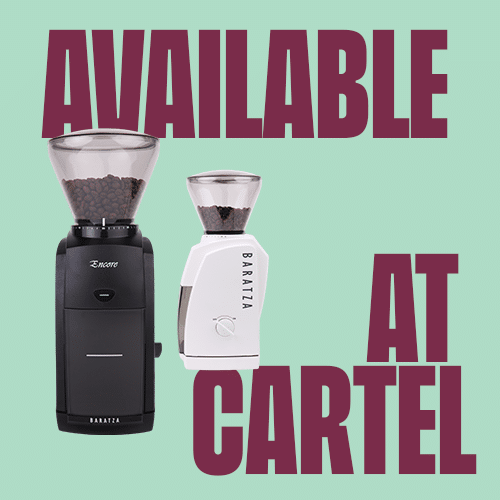
To get the most accurate results, you need a good and accurate scale, such as:

The next stop on my morning coffee journey is Grindsville, USA. When we are talking about grind size it’s important to note that we are not talking about a number setting on the grinder.
We are discussing the particle size of the actual ground coffee.
The size of the granular coffee affects the brewing process in a couple of different ways. The most obvious of which is how it affects the time it takes to complete the brewing process. Courser particles allow water to pass through the coffee bed much faster than those that are ground finer. A popular metaphor for this concept is how water passes through sand versus larger boulders or rocks. Water rushes through large gaps between boulders, but if you take that same water and try to pass it through sand, it will slow way down and take a longer time to pass through the gaps in the fine grains of sand.
Grind size also affects the extraction of soluble coffee compounds from ground coffee.
Larger particle sizes have an overall lower total surface area, making it more difficult for water to infiltrate each individual grain of ground coffee, meaning a lower overall rate of extraction. The inverse is also true, finer ground coffee has more surface area, making it easier for the water to get into the coffee particles and extract those soluble coffee bits. Coffee that is under-extracted tastes weak, tea-like, and astringent. Coffee that is over-extracted tastes strong, bitter, and pungent. Finding the balance between the two takes a little time to perfect and requires spending a little time with your grinder, and making a few less-than-stellar cups. Stick with the process and you will find that magic grind setting that produces sheer perfection.
Agitation, similarly to heat, adds kinetic energy to your brew, either aiding in or hindering your extraction based on how fiercely you stir up the bed of coffee.
The reason for agitating the brew slurry is to encourage even extraction, especially during the final draw down stage of brewing.
There are a couple key spots in the brewing process where it’s key to pay attention to how much energy you’re adding to your brew. The act of pouring water from the kettle inherently creates turbulence. Whether you decide to pour in a circular motion, a straight pour, or a pulse pour it’s crucial to monitor and maintain your flow rate. The easiest way to check if your pouring technique is en pointe is to make sure the stream of water leaving the gooseneck kettle has about the same circumference as a #2 pencil.
The more direct form of agitation comes as a gentle stir at the end of your brewing process.
This can be a stir with a spoon or a swirl of the brew device, the most important part is to stir gently. Two to four swirls is more than adequate to achieve an even draw down.
BREW LIKE A PRO: BECOME A POUR OVER COFFEE MASTER WITH V60 02 AND CARTEL ROASTING CO.
Brew time (the length of time water is in contact with the ground coffee) is a great indicator of how your brew is going to end up.
If the draw down of your brew is too fast or slow it means that one of the other factors are off. It could be that your grind is too coarse/fine, your water is too cold/hot, you are over/under agitating your brew, or your ratio is off in either direction.
What’s exciting is that you now have the skills to get you out of a brewing slump and on your way to being an expert home barista. Thank you for spending some time learning with me!
Happy Brewing,
Laurel Lynn
*NOTE: A brewed cup of coffee is 98.65%-98.85% water, for best brewing results use fresh, filtered water.
BONUS!
“There is no single perfect coffee. There are only coffees that are perfect for different people, preferences, and situations.”
Learn more with James Hoffman:
Some more troubleshooting information!
- Coffee Research Institute’s Troubleshooting Guide (https://www.coffeeresearch.org/coffee/brewing/troubleshoot.htm): This page offers a comprehensive troubleshooting guide for coffee brewing, including common problems like under-extraction, over-extraction, and uneven extraction.
- Specialty Coffee Association’s Troubleshooting Guide (https://sca.coffee/blogs/troubleshooting): The Specialty Coffee Association offers a troubleshooting guide for coffee brewing, with tips on diagnosing and fixing problems related to coffee quality, brewing equipment, and brewing techniques.
- Barista Hustle’s Troubleshooting Guide (https://www.baristahustle.com/blog/a-simple-troubleshooting-guide-for-coffee): Barista Hustle offers a simple troubleshooting guide for coffee brewing, with tips on diagnosing and fixing problems related to water quality, coffee freshness, and brewing techniques.
- Perfect Daily Grind’s Troubleshooting Guide (https://www.perfectdailygrind.com/2018/10/troubleshooting-coffee-brewing-problems-how-to-get-a-consistently-great-cup): Perfect Daily Grind offers a troubleshooting guide for coffee brewing, with tips on diagnosing and fixing problems related to water temperature, coffee-to-water ratio, and brewing methods.